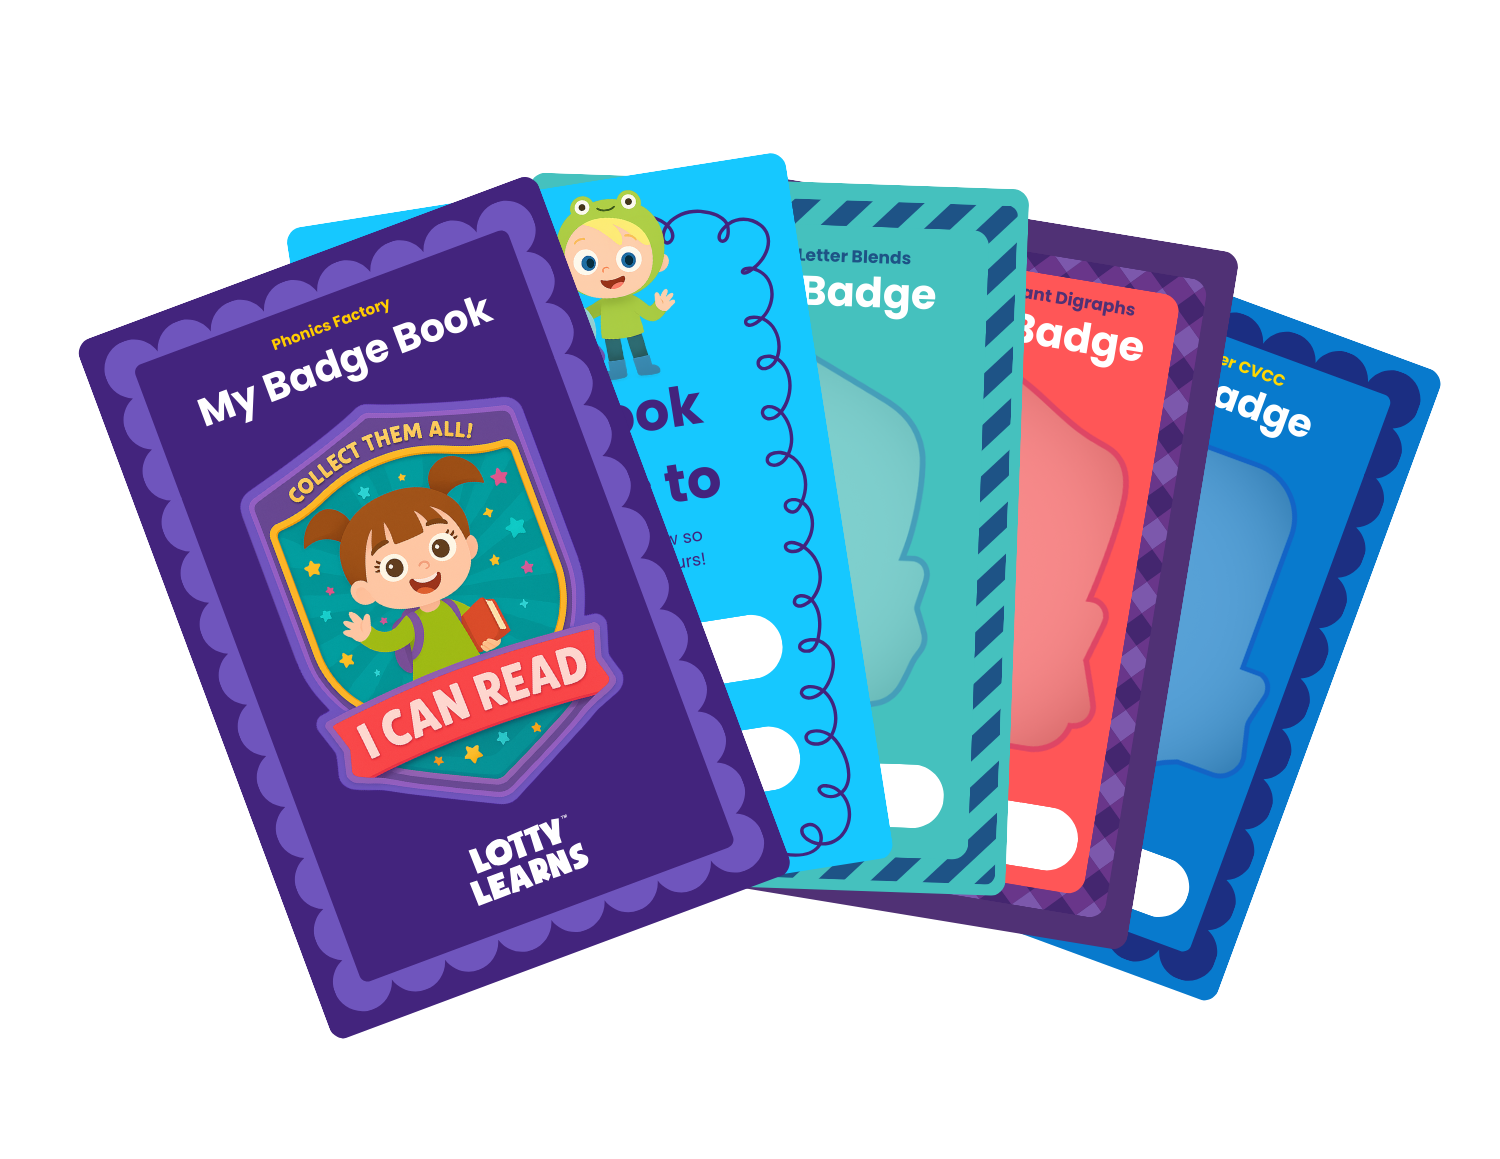
Badge Book


Let’s Build Your Badge Book!
Your Badge Book is where your child’s hard-earned badges will go. First, you’ll create the book using simple materials. Then, you’ll add printed inserts that give each badge its place. Follow the steps below to make the book, and it will be ready to fill as your child completes challenges.
Before you begin
Download and print the Badge Book Showcase Inserts.
Gather your materials: purple construction paper, white paper, glue, scissors, yarn or string, hole punch, and tape.
1. Make the cover
Glue one white sheet onto a purple construction sheet, centered. Fold in half and crease.
2. Prepare the pages
Stack 7 white sheets, fold in half, and crease. Punch 3 holes along the fold. Punch only half circles.
3. Mark and punch the cover
Close the cover. Place the folded stack on top of the outside of the folded cover, fold to fold, edges lined up. Use the page holes as a template to dot the purple cover at each hole. Punch matching half-circle holes on the cover fold. Then place the 7 folded pages inside the cover and line up all the holes so they’re ready for binding.
4. Bind with string
Cut two 33-inch strings and tape the ends. Start with the first string inside the book. Push one end through the top hole, leaving about 6 inches outside. Take the other end through the middle hole, then back up through the top hole, then down through the middle hole again. Tie the two ends together on the outside. Repeat with the second string starting at the bottom hole.
5. Add the inserts
Glue the cover insert to the front. Open the book and glue “This Book Belongs To” on Page 1 (the first right-hand page). Glue the rest in order. For each printed sheet, the left insert goes on the left page and the right insert goes on the right page.
You Built the Book, Now Earn Badges
Have your child practice with the interactive tools in the Phonics Factory. When they are confident, help them complete that tool’s Badge Challenge and add the badge to their Badge Book.

Tips for Parents
Build the badge book first.
Use construction paper to make the base pages, then glue on each printable Badge Page.
Let your child see what they're working toward.
The empty badge spots help set a clear goal.
Use the Badge Challenge sheet as a checklist.
It includes all the words from each Phonics Factory section. If your child can read them all, they earn the badge that comes with it.
Only add badges when earned.
This keeps the reward meaningful and builds motivation.
Support and celebrate.
Practice together and cheer them on. Each badge is a big deal.
Lotty Learns LLC, Copyright 2015 - 2026